Permits, transportation, lodging, and timing — everything you need to plan your own Grand Canyon Rim-to-Rim.
This post is part of the travel series "Grand Canyon 4-day Rim-to-Rim Hike".
A Rim-to-Rim traverse of the Grand Canyon doesn't happen on a whim. There's a fair amount of planning involved — permits, shuttle reservations, lodging, and physical prep. But none of it is overwhelming, and all of it is worth it. Here's how we put it together.
The Permits
Camping inside the Grand Canyon requires a backcountry permit from the National Park Service. There's no way around this — no permit, no campground, no trip.
The park runs a lottery system for advance reservations. If you don't get in through the lottery, remaining spots open up on a rolling basis about three months out. Either way, plan ahead. These permits are in demand.
For our trip, we requested stays at three campgrounds in sequence:
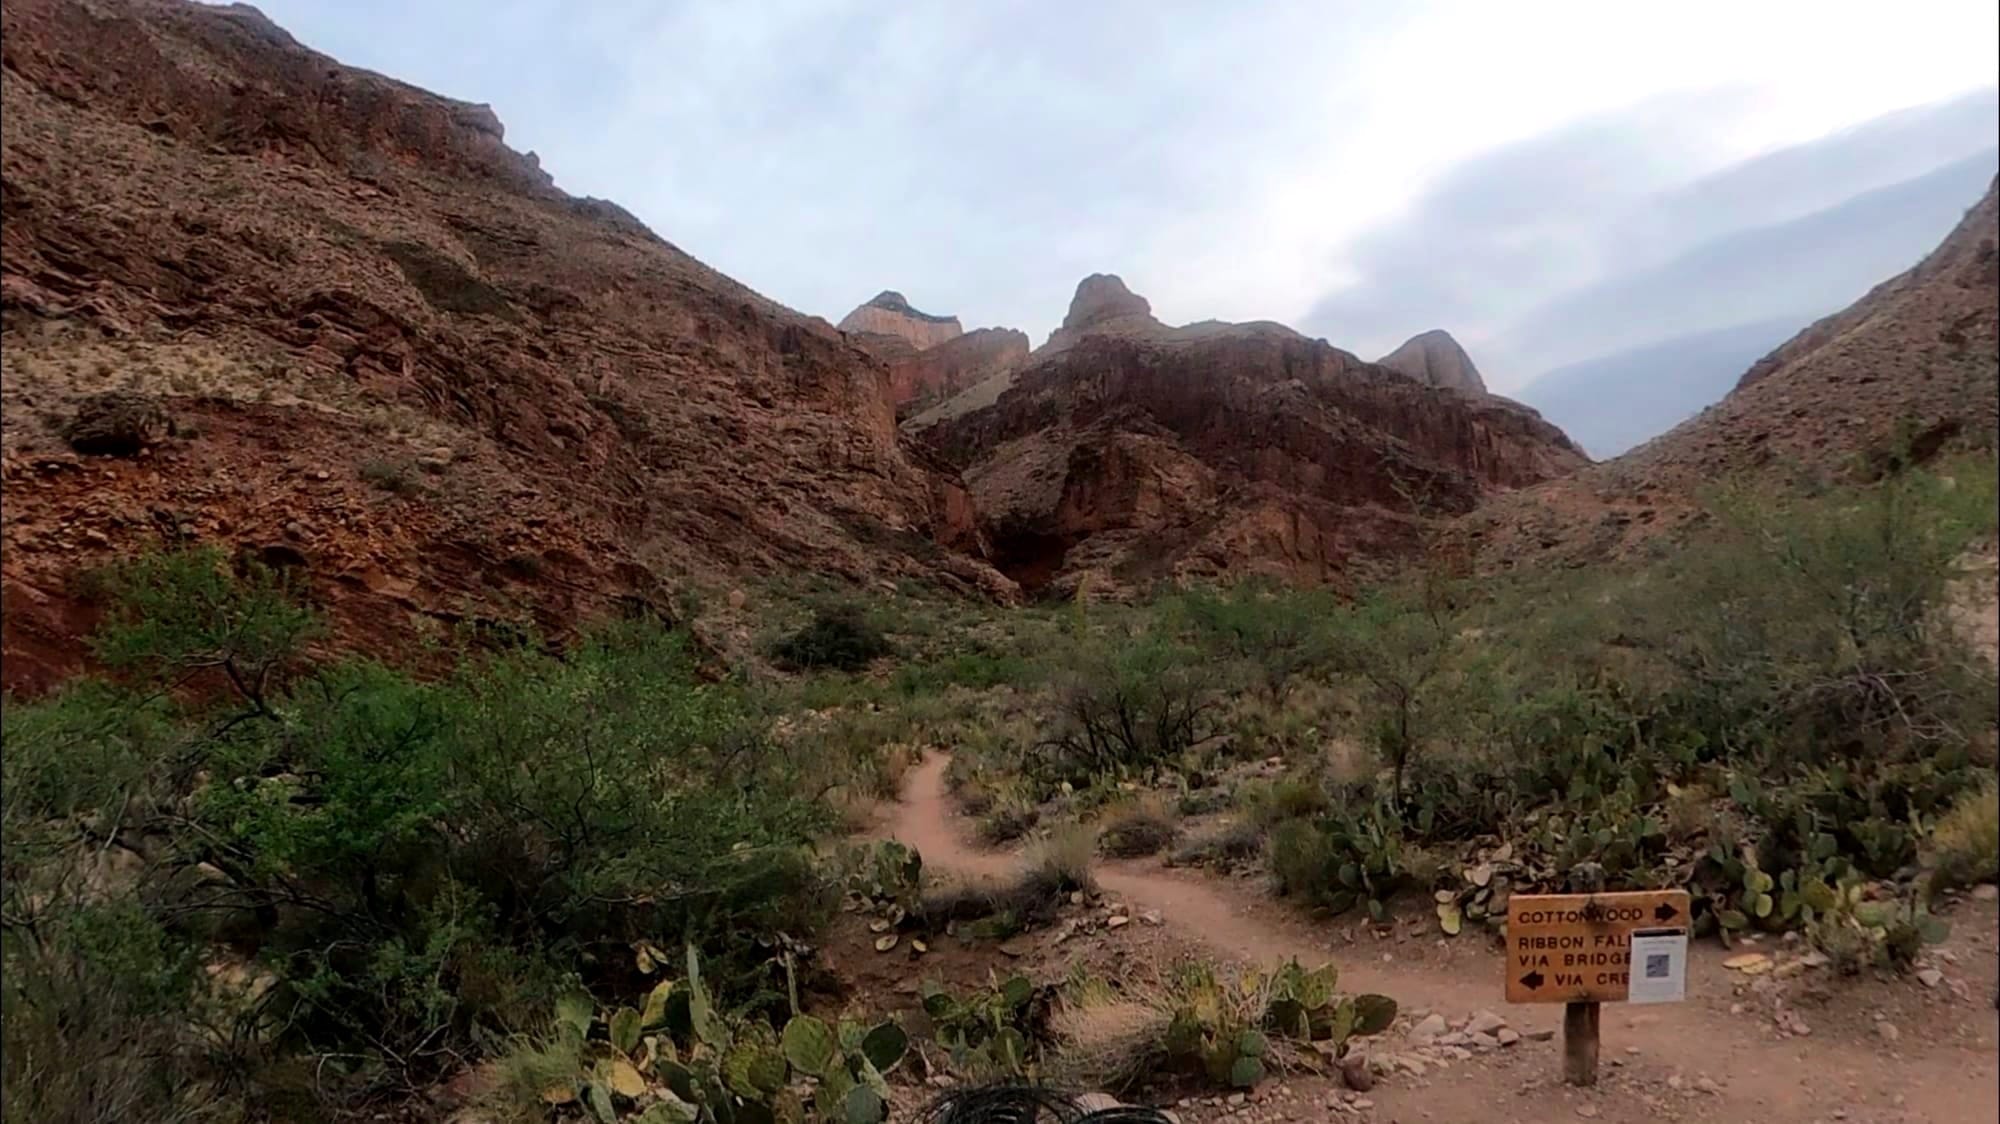
- Cottonwood Campground — midway down the North Rim
- Bright Angel Campground — at the bottom, near Phantom Ranch
- Havasupai Gardens Campground — midway up the South Rim
This sequence follows the natural North-to-South route and spaces out the hiking nicely across four days.
Full details and applications are available on the GCNP Backcountry Permits page. The park also offers a downloadable "Hiking Into Grand Canyon" brochure and a "Hike Tips — Hike Smart" guide, both worth reading before you go.
Getting There
We flew into Phoenix (PHX) from Raleigh, NC, rented a car, and drove about four hours north to the Grand Canyon's South Rim. That's where the trip officially started — and where it would eventually end.
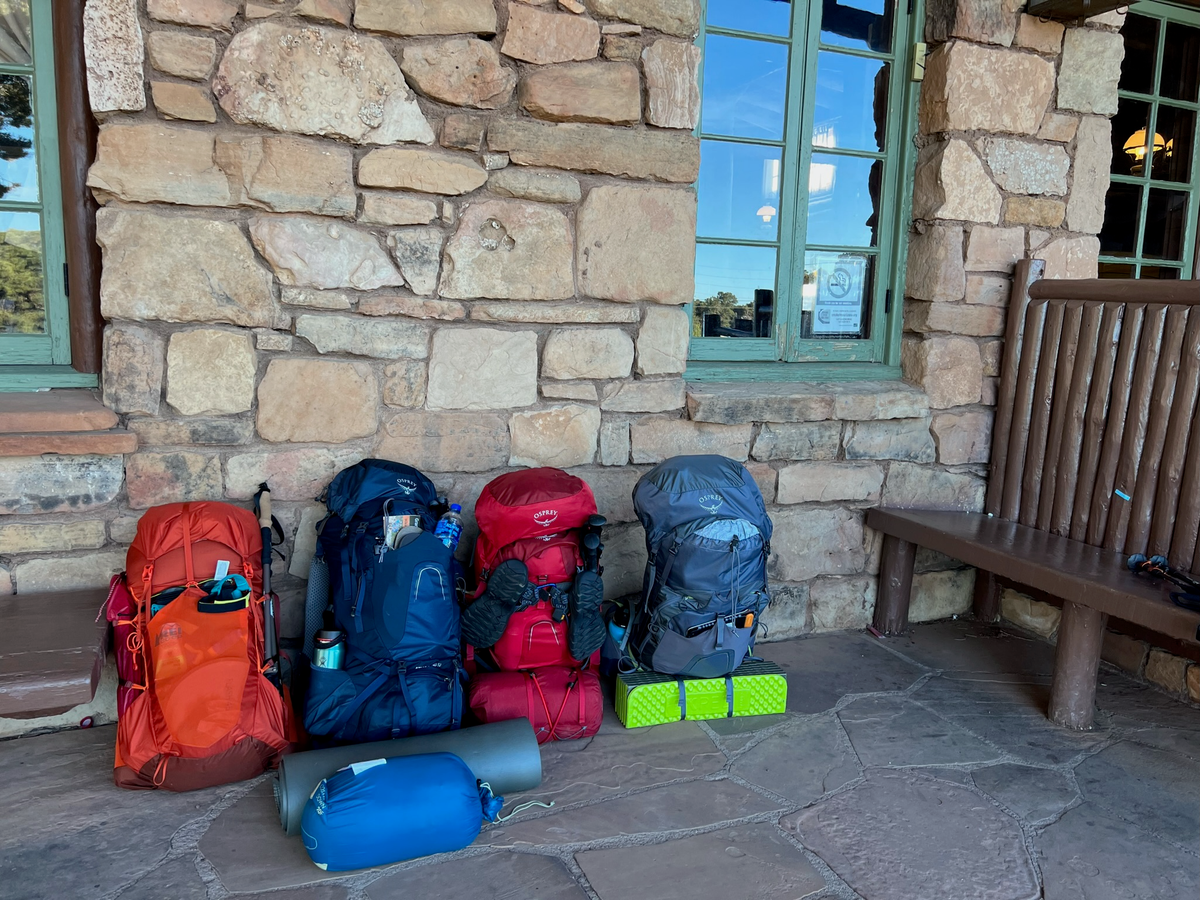
Pro tip: Pack your hiking backpack and all your gear inside a regular checked bag to stay within the 50-pound airline limit. Leave any extra clothes and non-hiking items in your luggage to store in the car's trunk at the South Rim while you're in the canyon.
The Shuttle to the North Rim
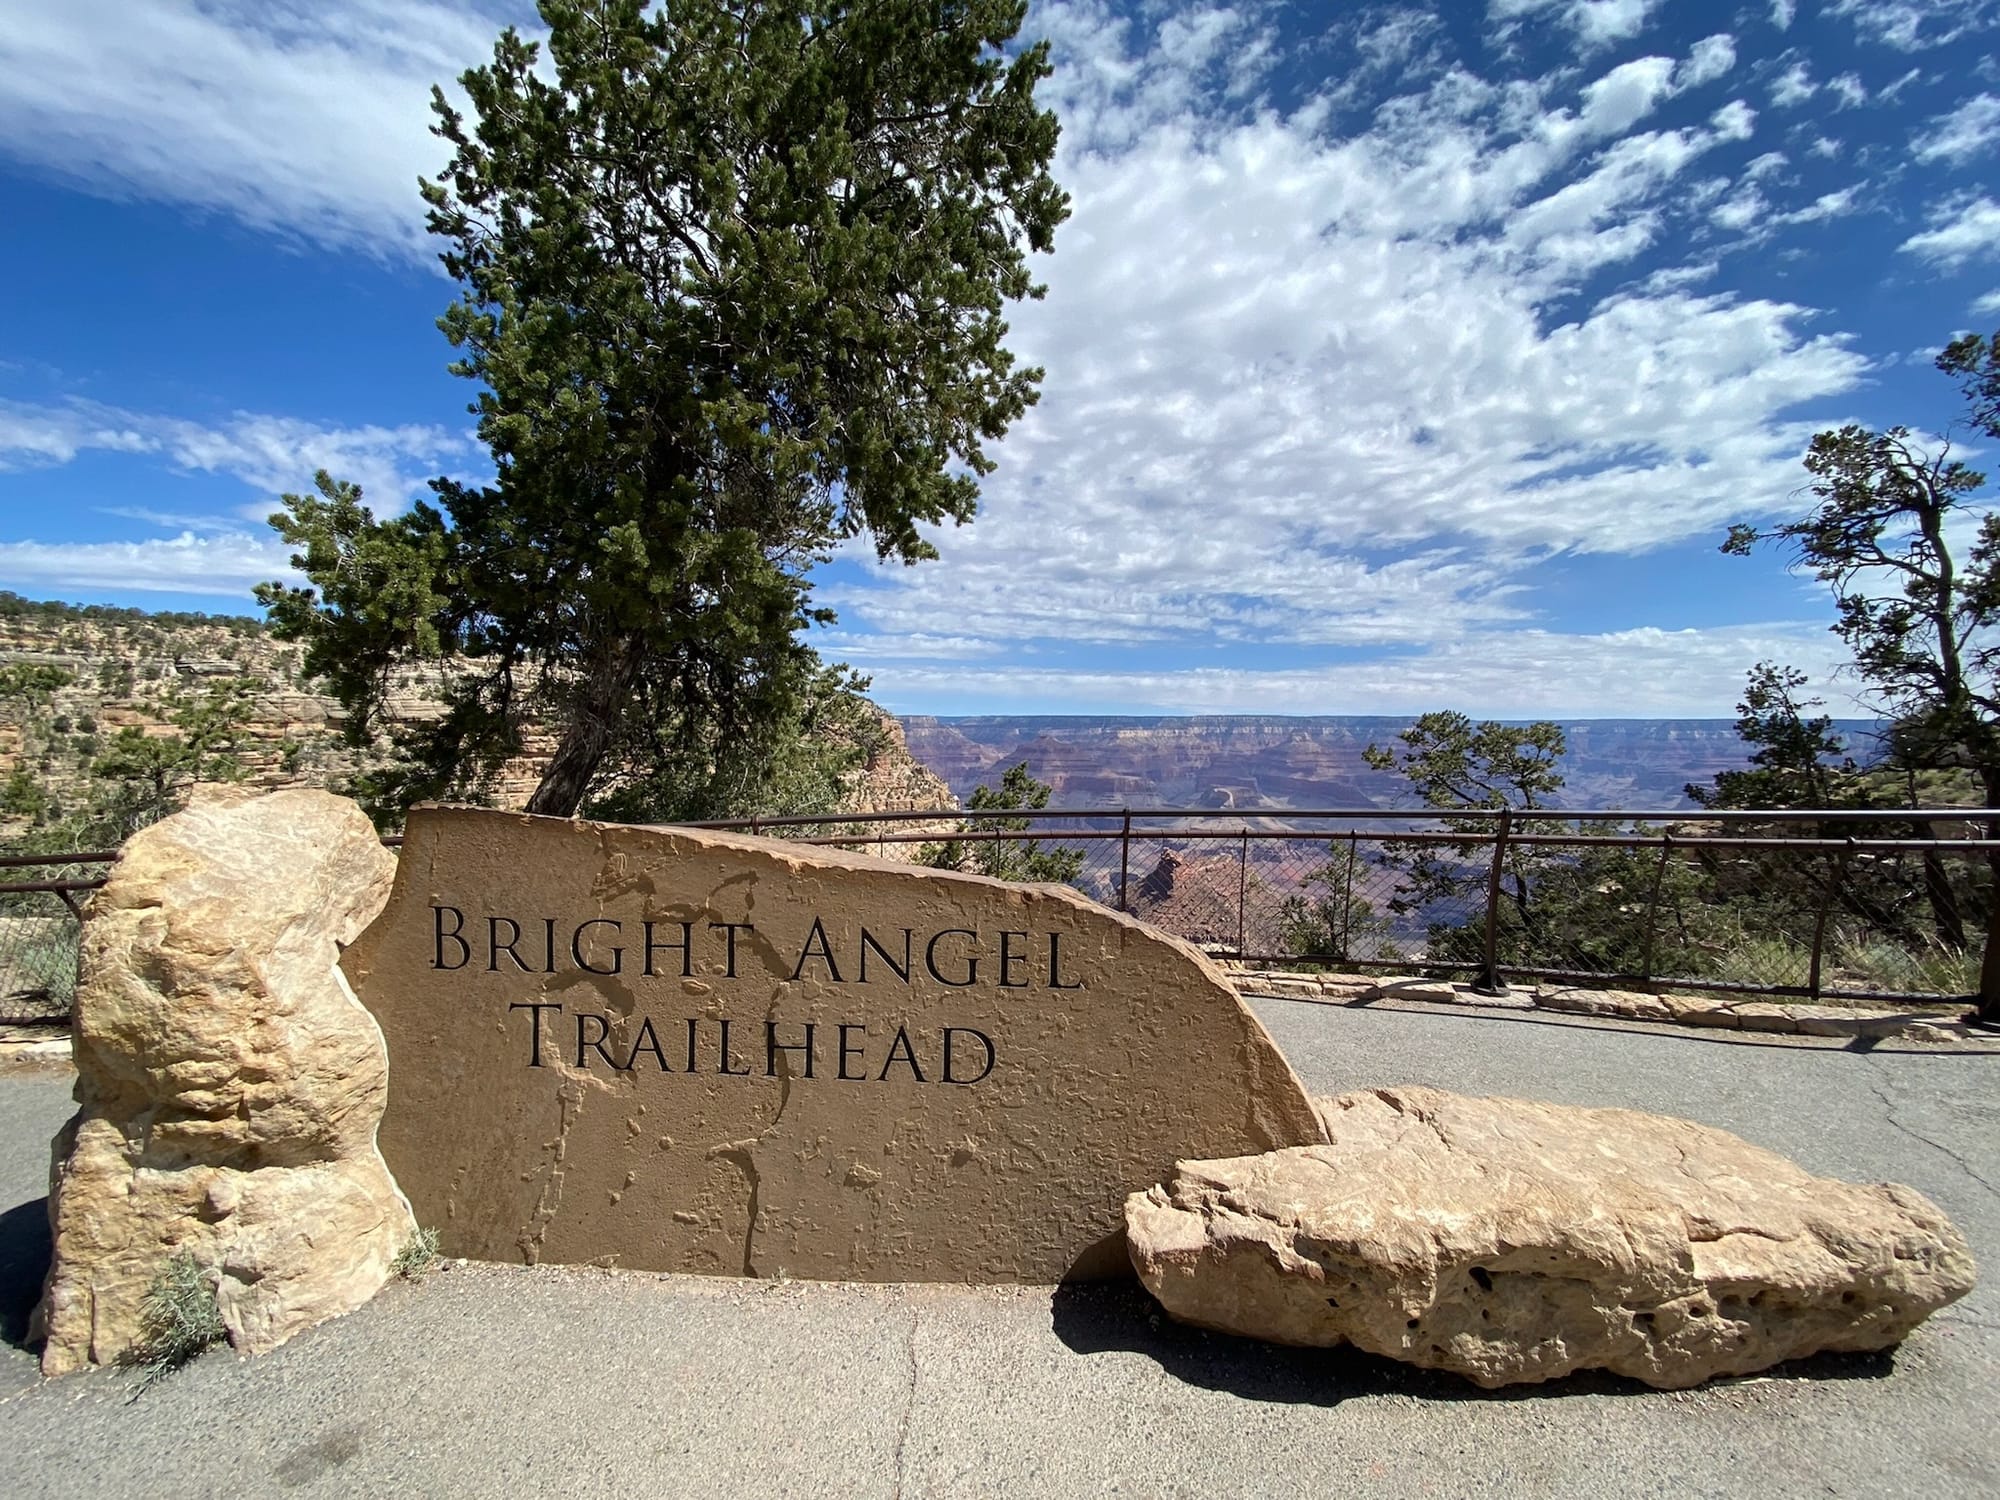
Since we were hiking North-to-South, we needed to get from the South Rim to the North Rim before starting the hike. The Trans-Canyon Shuttle handles this. It's a roughly four-and-a-half-hour drive that picks you up near the Bright Angel Lodge on the South Rim.
The shuttle makes a couple of quick rest stops along the way — one at a gas station in Cameron, AZ, and another at the Navajo Bridge Interpretive Center, where you can peer down at the Colorado River from the historic bridge. Once it reaches the North Rim area, it stops at the North Kaibab Trailhead and then the Grand Canyon Lodge.
Before boarding the shuttle, we parked our car at Parking Lot D on the South Rim. This is important — you'll want your car waiting for you when you stumble out of the canyon days later.
Lodging
We booked two nights of lodging before the hike:
- Night 1 (South Rim): Yavapai Lodge — a solid, no-frills option right inside the park. We had dinner at the Yavapai Tavern that evening, then spent the rest of the night organizing our packs and prepping gear.
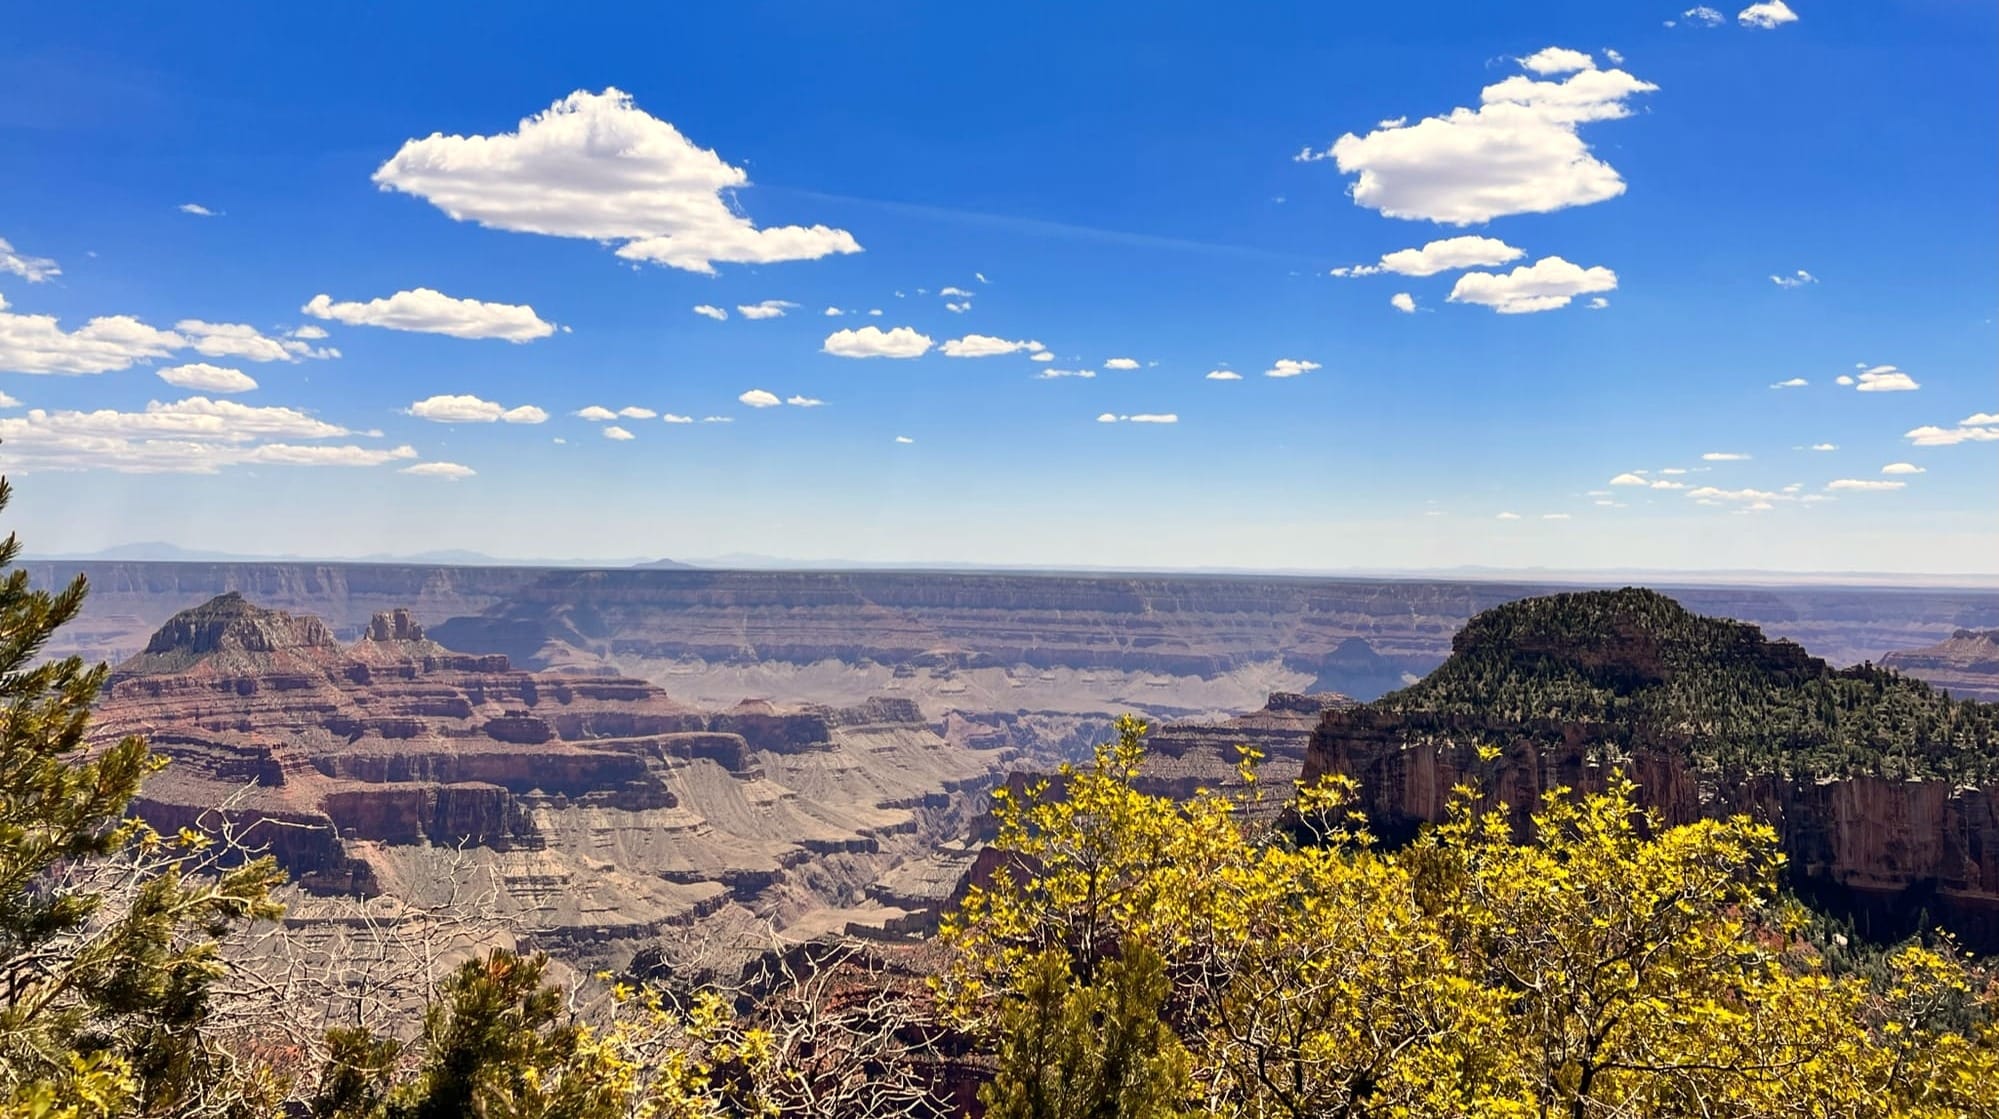
- Night 2 (North Rim): A cabin at the Grand Canyon Lodge on the North Rim. This gave us a good night's rest before the early morning start. The North Rim is quieter and less crowded than the South Rim, and the views at sunset are worth the trip on their own.
Note: The Grand Canyon Lodge North Rim suffered a devastating fire in 2025. If you're planning a trip, check current lodging availability. A fallback option is to reserve a campsite at the North Rim Campground.
In-Canyon Dining
If you want a break from dehydrated meals, the Phantom Ranch Canteen at the bottom of the canyon offers dinner service. Reservations are required and should be made well in advance. After a day and a half of trail food, sitting down for a real meal with fellow hikers was a highlight of the trip.
Physical Preparation
You don't need to be an ultramarathoner, but you do need to take the physical prep seriously. Here's what worked for us:
- Weekly hikes: A couple of short hikes during the week and a longer one on weekends in the months leading up to the trip
- Break in your boots: This cannot be overstated. Do not show up to the Grand Canyon in new hiking boots. Your feet will not forgive you.
- Train with your pack: Start hiking with your loaded backpack well before the trip. Gradually increase the weight until it matches what you'll be carrying in the canyon.
- Hiking sticks: Highly recommended, especially for the descent. Your knees will thank you.
Reservations Checklist
Here's a summary of everything that needs booking:
- [ ] Backcountry camping permit (lottery or rolling availability)
- [ ] Flights to Phoenix (or Las Vegas)
- [ ] Rental car
- [ ] South Rim lodging (Yavapai Lodge or similar)
- [ ] Trans-Canyon Shuttle reservation
- [ ] North Rim lodging (cabin or campsite)
- [ ] Phantom Ranch Canteen dinner reservation (optional but recommended)
Timing
We did our trip in late May (May 25–31, 2022). Late spring and early fall are generally considered the best windows for a Rim-to-Rim — the temperatures are more manageable than the brutal summer heat, and the campgrounds are accessible. That said, even in late May, the canyon bottom gets hot. Very hot. Starting early each morning was essential.
The planning is part of the adventure. Once you've got your permit in hand and your pack on your back, the rest is just putting one foot in front of the other.
Next: The Supplies List: What to Pack for Your Grand Canyon Hike
Photos by Rodrigo Senra, Nascif Abousah, Alexandre Da Silva, and Luciano Silva — fellow hikers and accidental photographers.